Ewa Surmacz Art and Craft - Jak samodzielnie wykonać shaker od podstaw - foto tutorial


W ofercie naszego sklepu mamy wiele pięknych gotowych shakerów wykonanych z tekturki. Możemy wybrać spośród różnych kształtów: okrągłe, kwadratowe, świąteczne. Ale co, jeśli marzy nam się kartka lub czekoladownik z pełnowymiarową ramką z shakerem właśnie? Nic trudnego! Wykonamy go razem od podstaw.
On our shop's offer there are lots of fabulous shakers made of chipboard. We can choose from a variety of different shapes: circles, squares, Christmas dedicated ones. But what if we are thinking of a card or a chocolatier with a full scale shaker frame on it? A piece of cake! We are going to make it together from scratch.
Przygotuj potrzebne materiały:
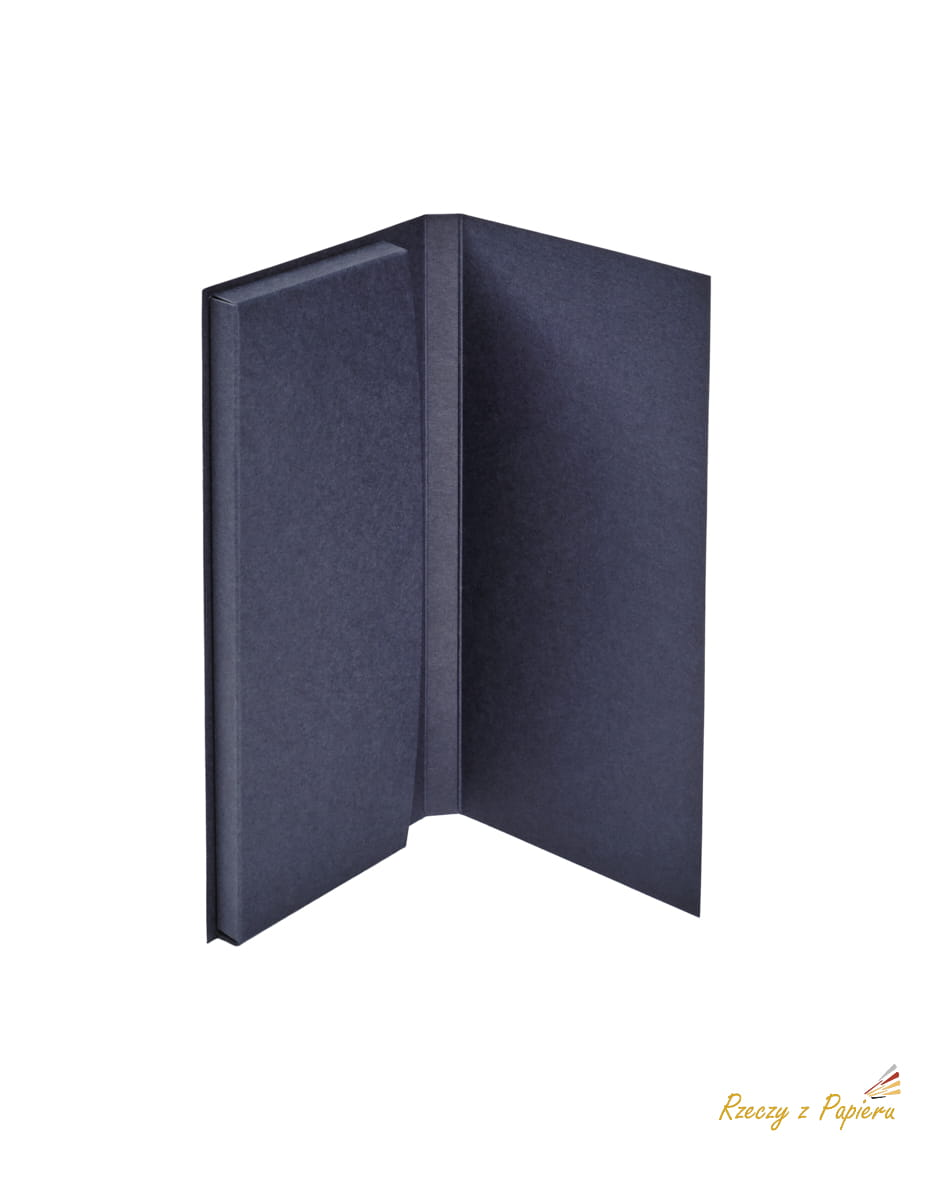
- baza czekoladownika (ja wybrałam granatową),
- papier scrapowy (użyłam bloczku Mintay Papers Mr Fix it),
- arkusz grafik do wycięcia (kolekcja Mr Fix it Mintay Papers).
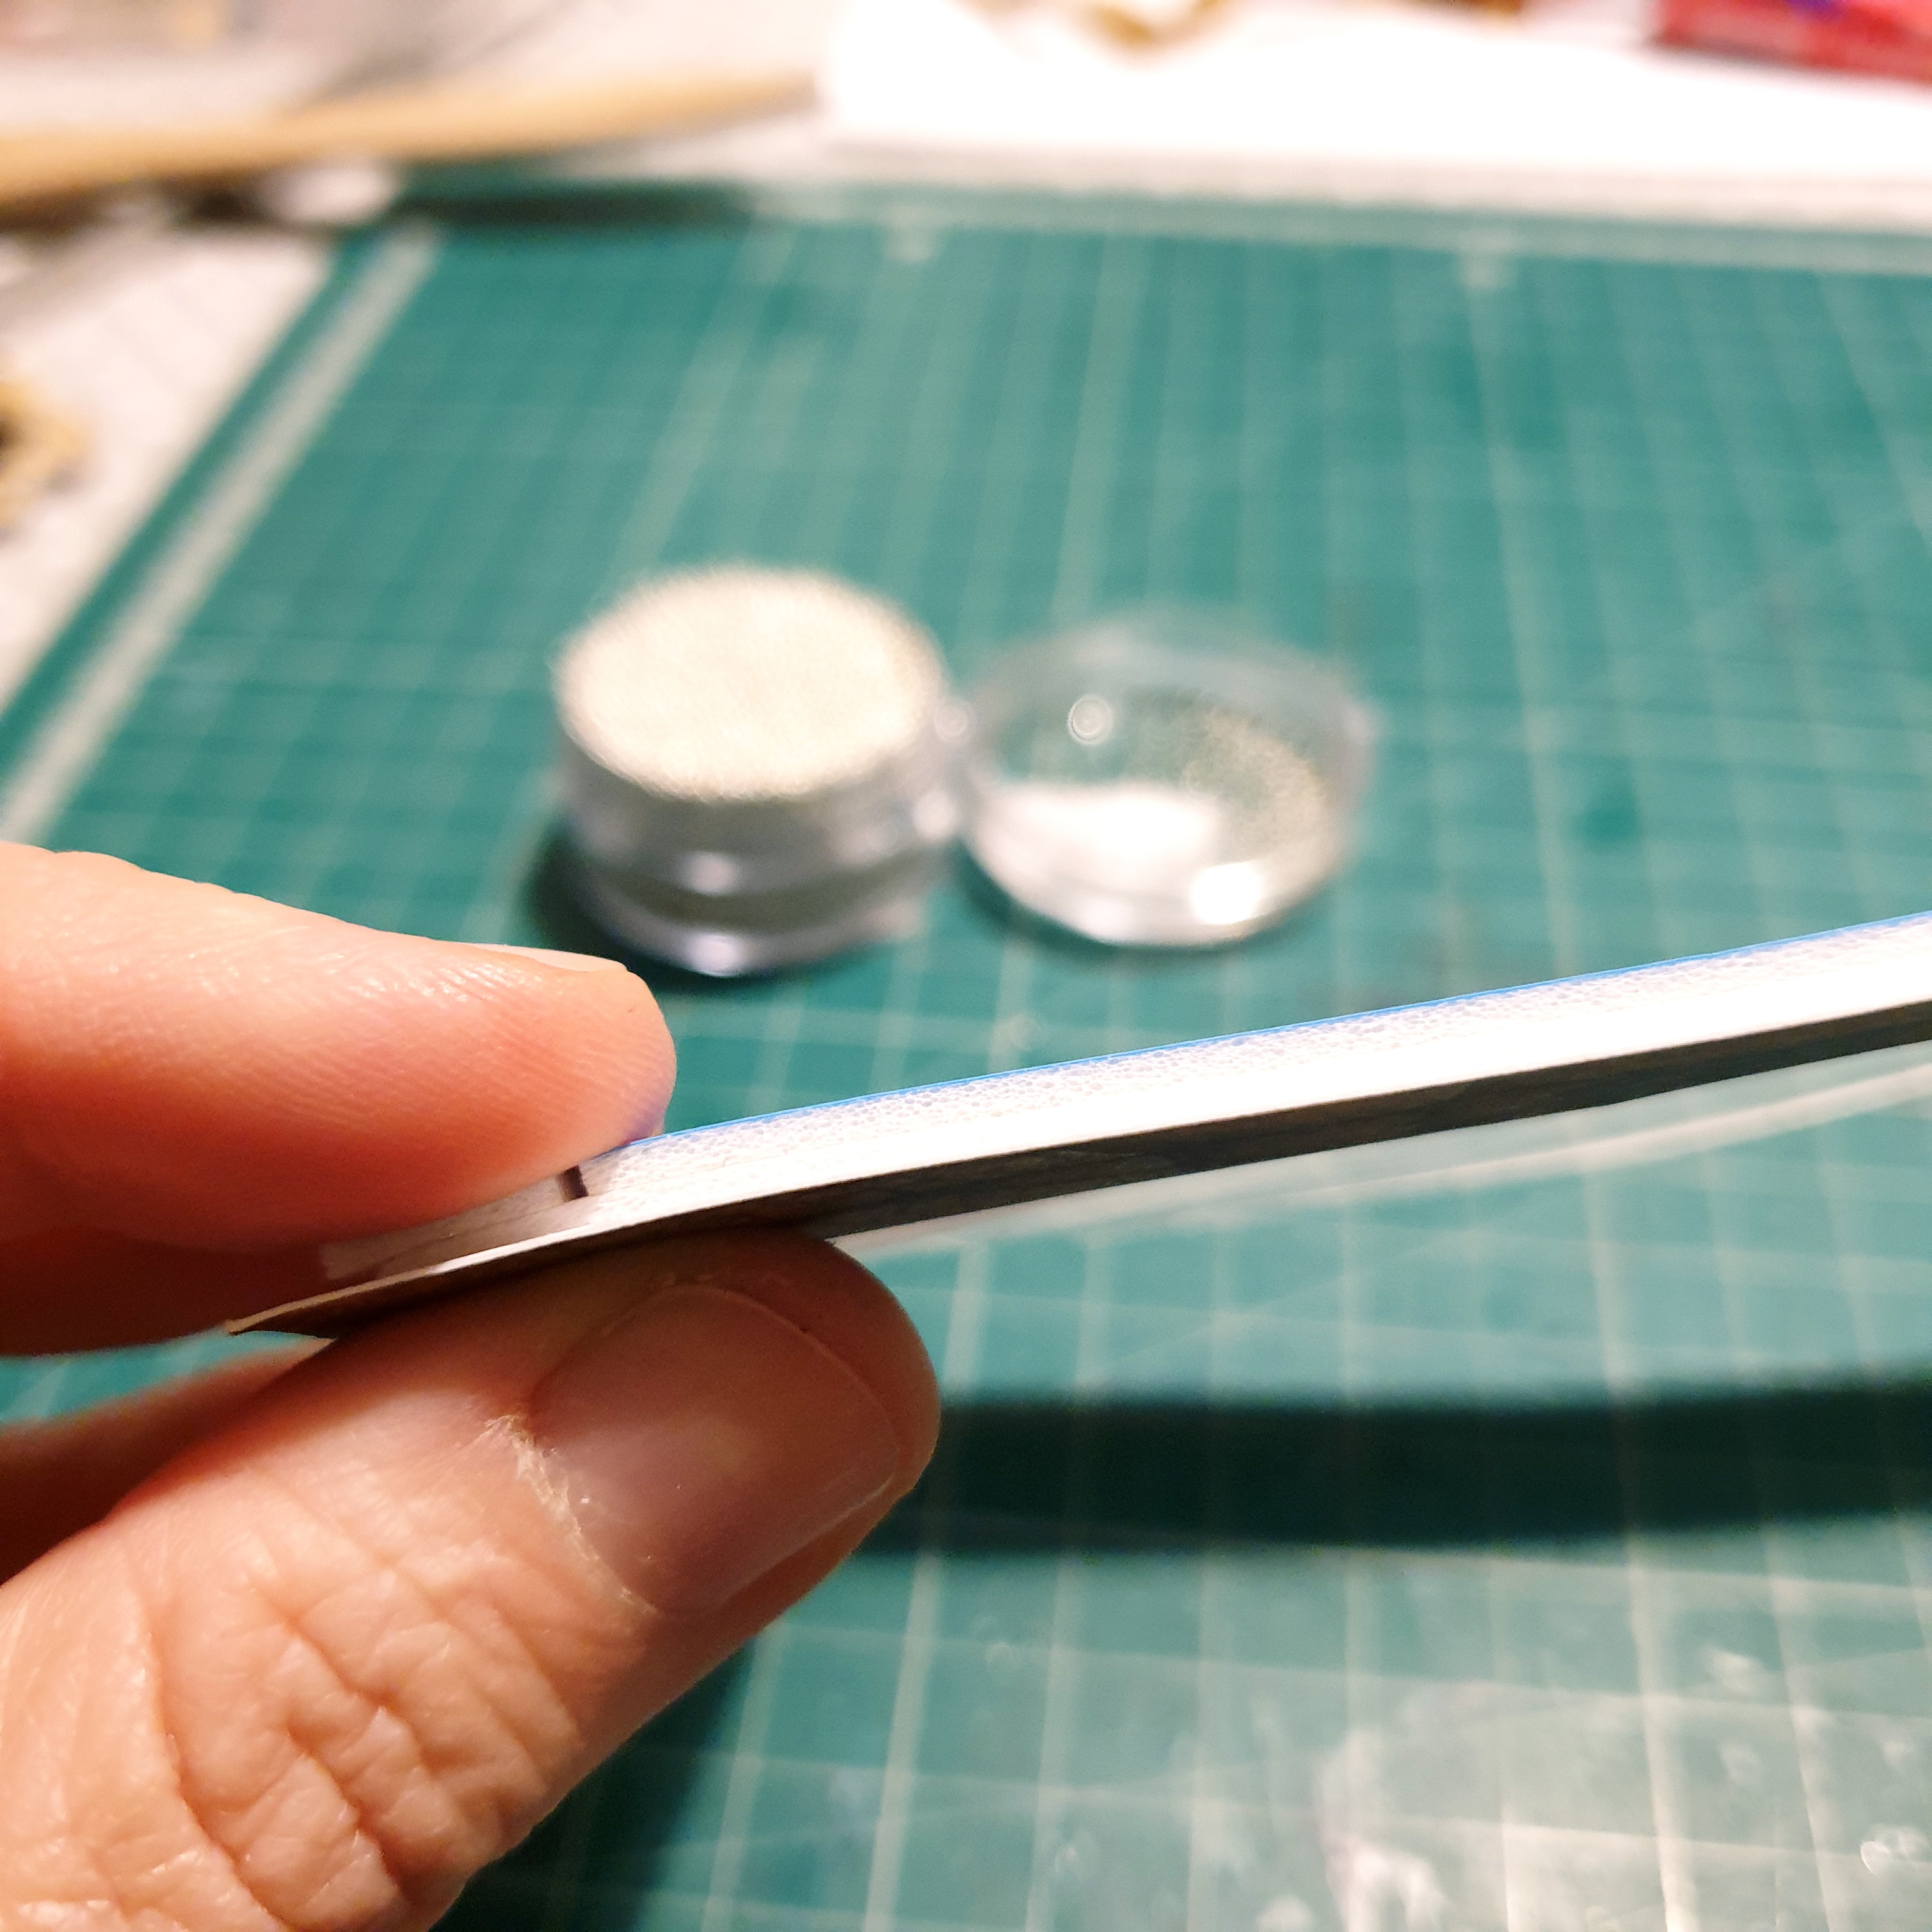
- kawałek sztywnej folii na okienko shakera,
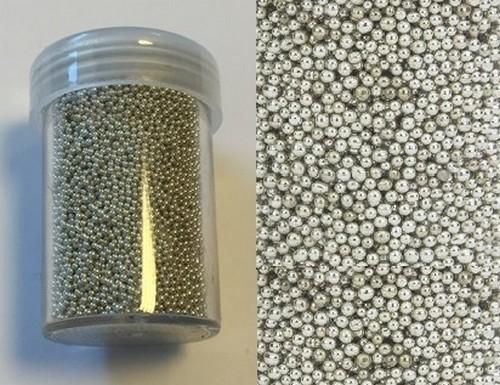
- mikrokulki (u mnie srebrne i złote marki Hobby & Crafting Fun),
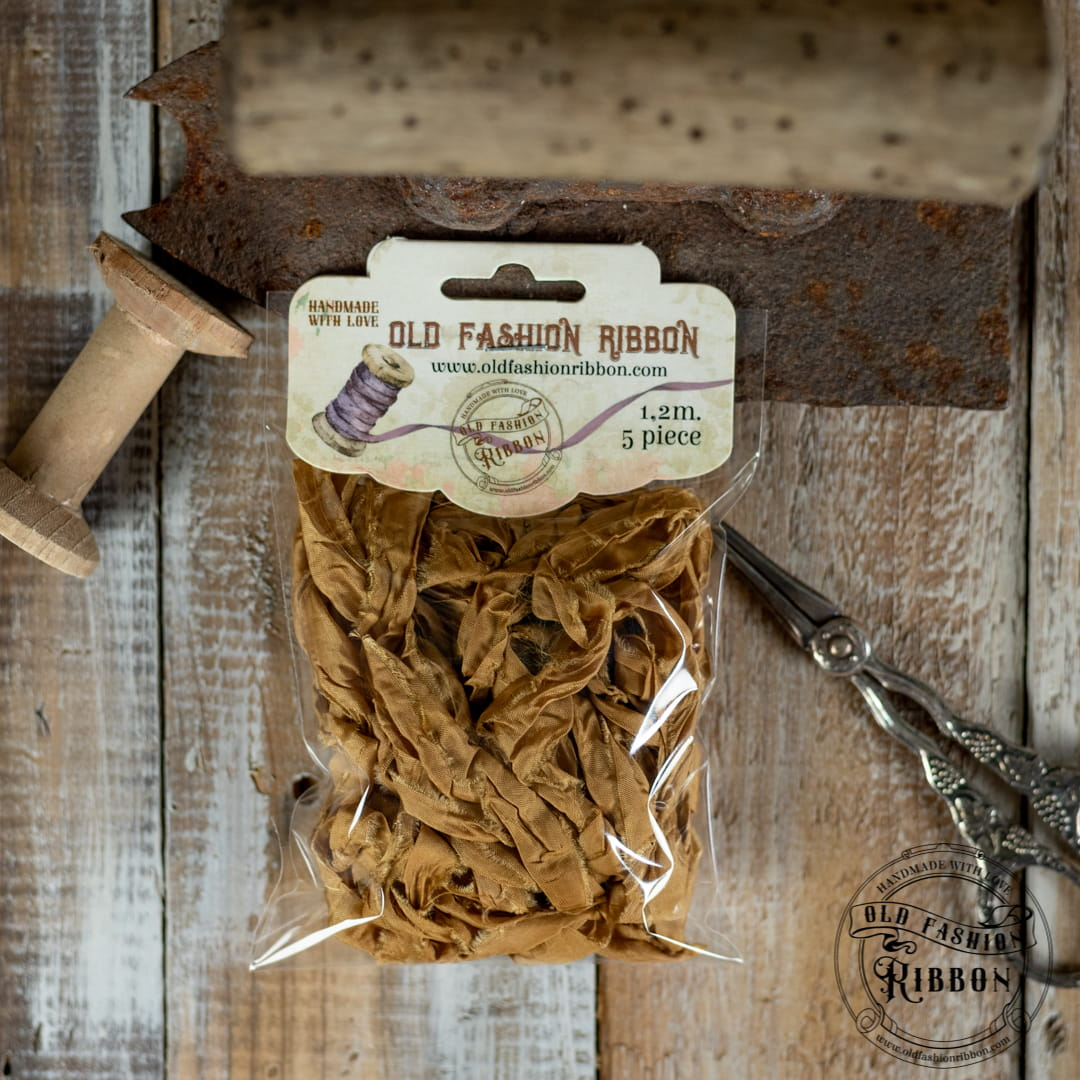
- wstążkę do zamknięcia czekoladownika (u mnie Old Fashion Ribbon),
- taśmę 3D dwustronnie klejącą (np. marki Craft Passion),
- klej magiczny,
- linijkę, ołówek, nożyczki oraz trymer lub inne narzędzie co cięcia papieru (może być np. nożyk do tapet, skalpel czy gilotyna),
- opcjonalnie: kwiaty do dekoracji (ja wykonałam swoje z papieru) oraz napis okolicznościowy (u mnie literki z tekturki)
Prepare the following materials:
- chocolatier base (I chose navy blue),
- scrapbooking paper (my choice is Mintay Papers Mr Fix it paper pad),
- graphic elements to cut (Mr Fix it collection by Mintay Papers),
- a piece of stiff foil for the shaker window,
- microbeads (my are silver and gold by Hobby & Crafting Fun),
- some ribbon to tie the chocolatier up (I got Old Fashion Ribbon),
- some Magic Glue,
- double adhesive 3D tape (e.g. Craft Passion),
- a ruler, a pencil, scissors and a trimmer or some other cutting tool,
- optionally: flowers (I made mine from paper) and a sentiment (I chose some chipboard letters).
Krok 1
Dotnij papier scrapowy, by okleić bazę czekoladownika. Możesz wyciąć kawałki mniejsze niż baza o około 2mm z każdej strony - uzyskasz estetyczny margines, a kolor bazy będzie podkreślał odcienie papieru. Przód i tył opakowania mają ten sam rozmiar, a więc uzyskasz dwa identyczne kawałki papieru. Jeden przyklej z tyłu. Z drugiego zrobimy ramkę. Oklej także kieszeń na czekoladę, która znajdzie się w środku. Ważne: zanim przykleisz papier do bazy, dotnij i przyklej dwa kawałki wstążki, które zamkną opakowanie.
Measure and cut your scrap paper to cover the chocolatier base. You can cut out pieces smaller than the base by approx 2mm at each side - you will get a pretty and aesthetic margin and the base's colour will highlight the shades of the paper. The front and the back of the packaging are of the same size so you will get two identical pieces of paper. Glue one of them at the back. The other one will be our frame. Plaster also the pocket for the chocolate that goes inside the packaging. Important: before you glue the paper to the base, measure and cut two pieces of ribbon that will tie up the chocolatier. Glue them to the base.
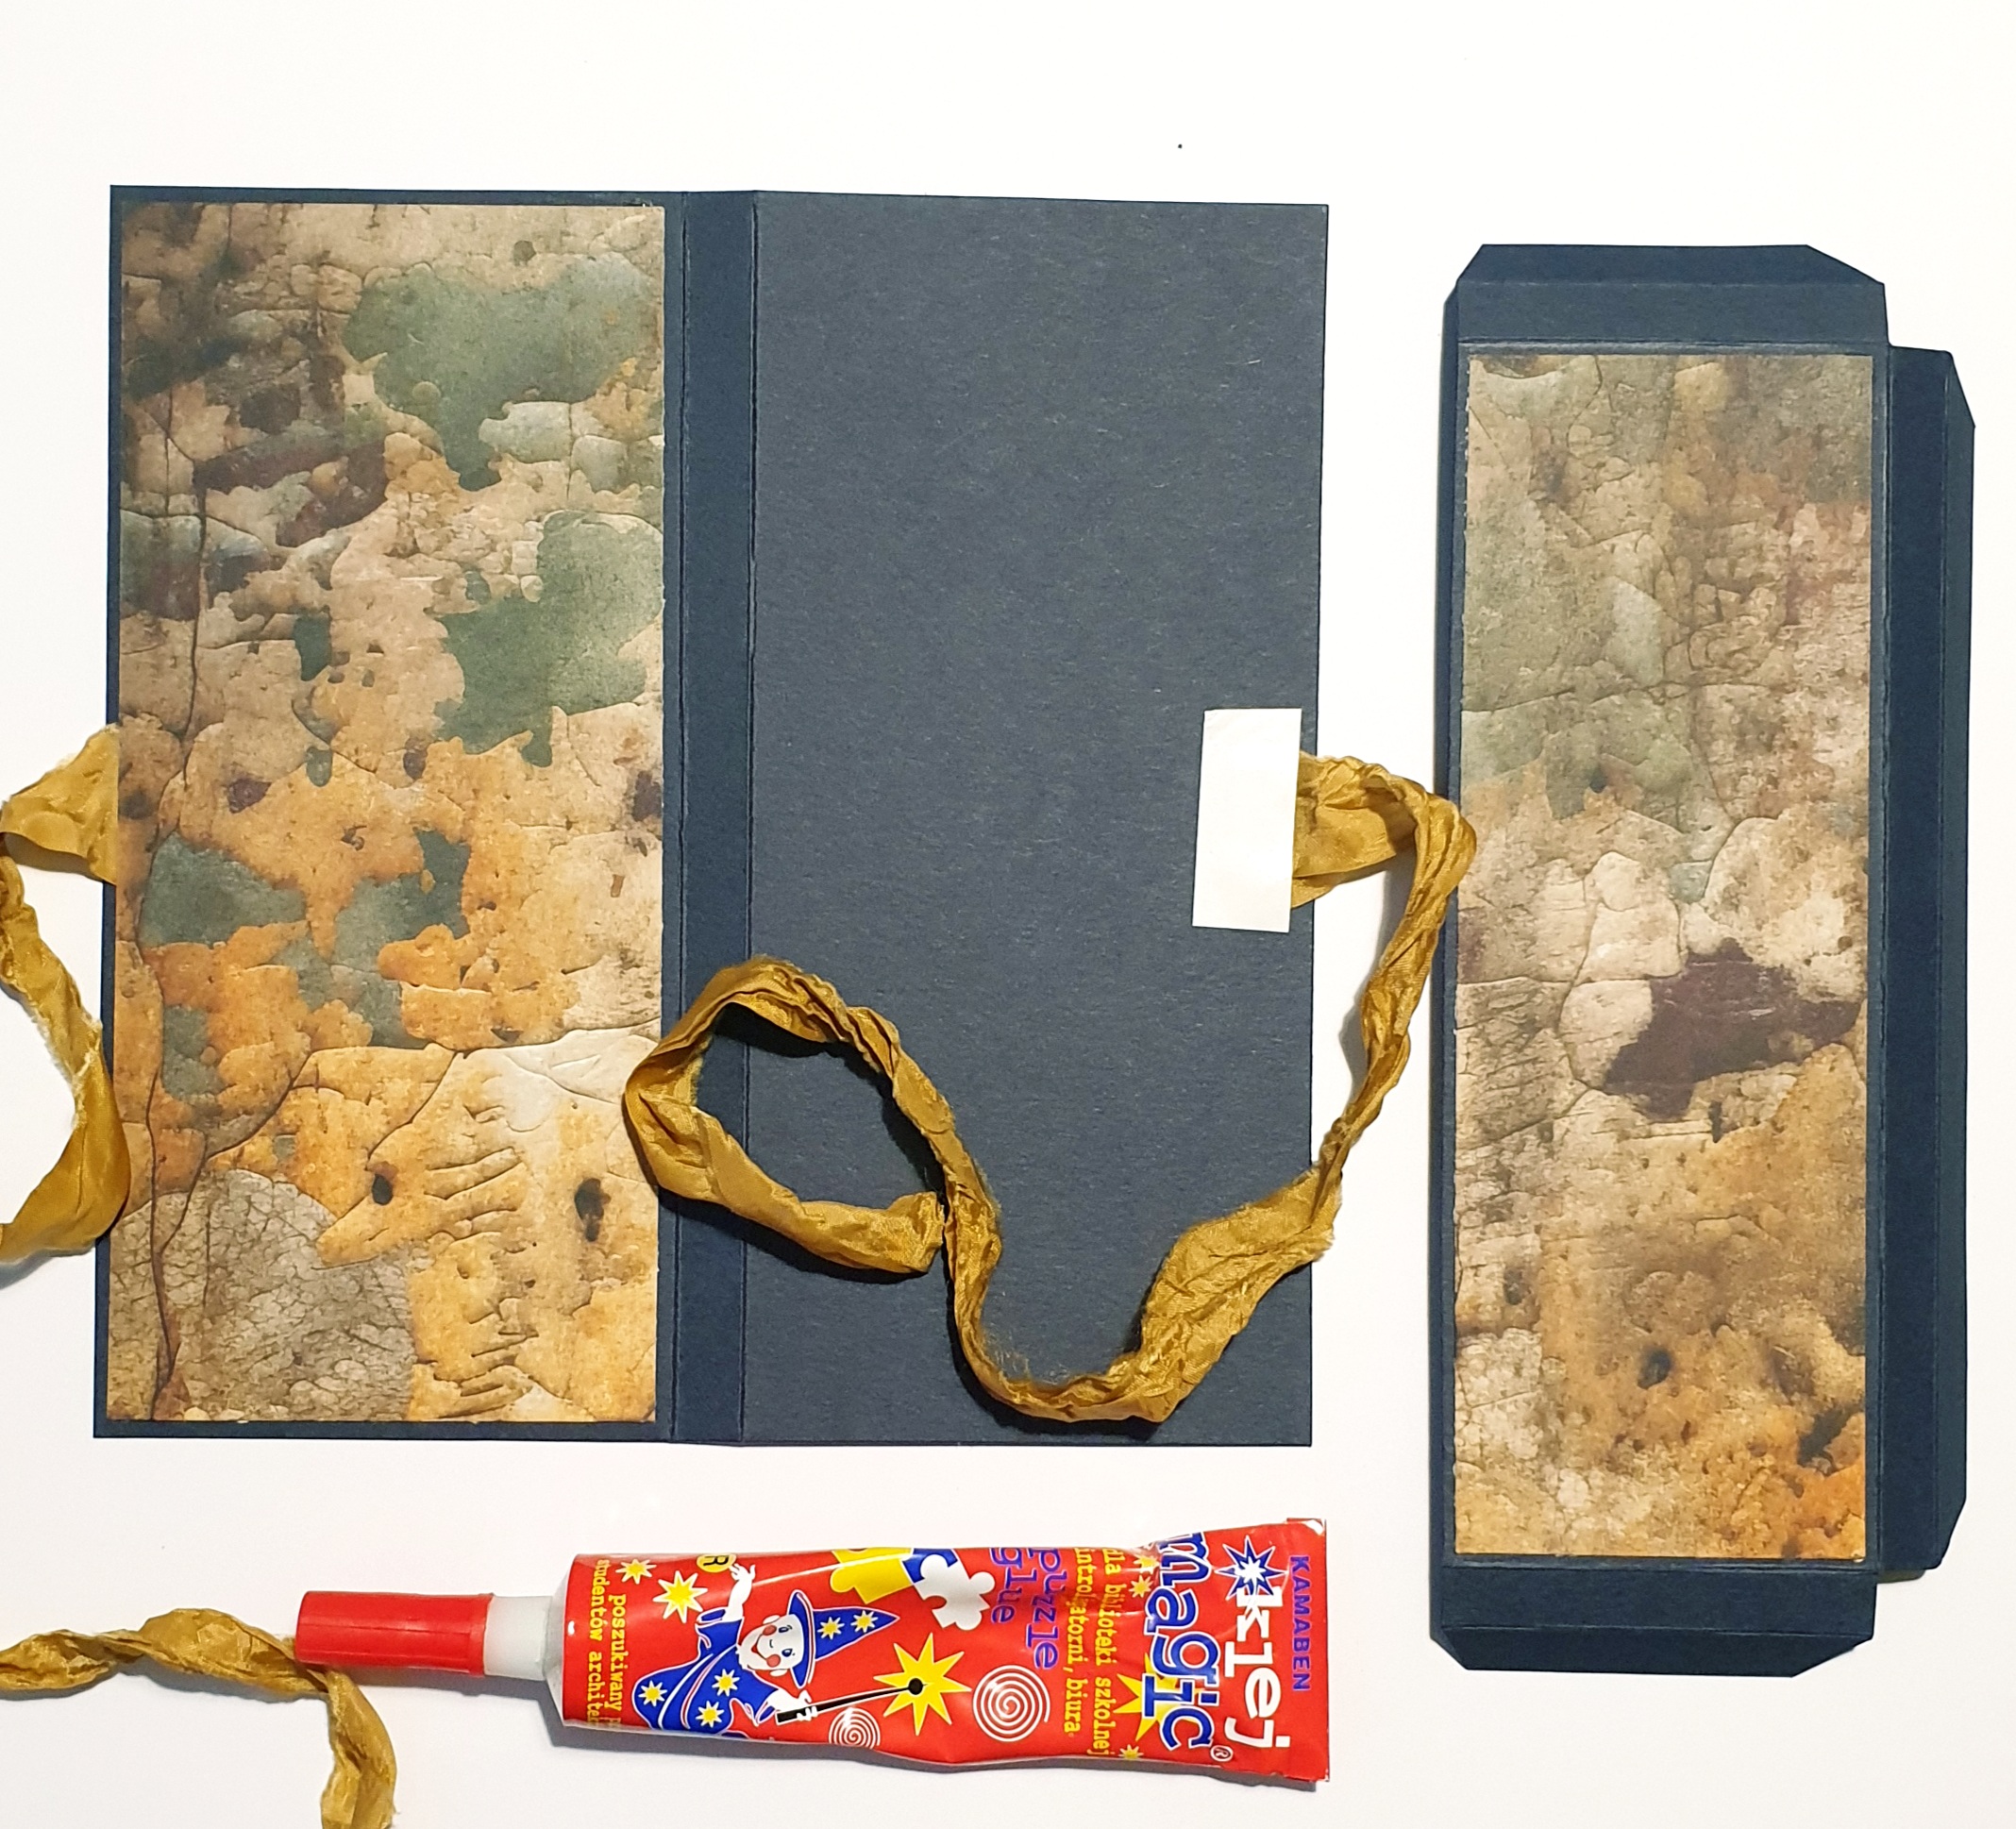
Krok 2
Czas na ramkę - okienko shakera. Na kawałku papieru przeznaczonym na przód czekoladownika odrysuj prostokąt w środku - jego boki mają się znaleźć w odległości 1,5cm od krawędzi papieru z każdej strony. Teraz wytnij prostokąt np. za pomocą skalpela lub trymera. Ramka gotowa!
Time for the frame - the shaker's window. On the piece of paper meant for the front of the chocolatier draw a rectangle - its sides are to be in an exact distance of 1,5cm from the edge of the paper at each side. Now cut the rectangle out e.g. with a scalpel or a trimmer. The frame is ready!

Krok 3
Odwróć ramkę na lewą stronę i dookoła okienka przyklej cienką taśmę dwustronną lub rozsmaruj cienką warstwę kleju. Następnie przyklej - wciąż od lewej strony - kawałek folii większy niż okienko, ale nie większy niż sama ramka. To będzie szybka shakera.
Turn the frame over and put a thin layer of magic glue or adhere some thin double sided tape all around the window. Then glue up a piece of foil bigger than the window but still smaller than the frame. It' going to be your shaker's window pane.

Krok 4
Teraz podklej całą ramkę warstwą dwustronnej piankowej taśmy 3D. Ja zrobiłam podwójną warstwę i uzyskałam wysokość taśmy = 3mm, ponieważ lubię dużo powietrza w shakerze :)
Now adhere the 3D foam double sided tape all around the window in the frame. I adhered two layers one onto another and got 3mm high tape as I like to have plenty of air in my shakers.

Krok 5
Wybierz papier na tło okienka i dotnij go - powinien być większy niż samo okienko, ale mniejszy niż ramka. Przyklej go do bazy z przodu czekoladownika.
Choose the paper for the window's background, measure it and cut - it should be bigger than the window but smaller than the frame. Glue it up to the chocolatier's base on the front.

Krok 6
Zdejmij folię zabezpieczającą z taśmy i nałóż na taśmę nieco kleju. Dzięki temu uzyskasz jeszcze chwilę na ewentualne dopasowanie czy przesunięcie rami, zanim całość przyklei się na amen.
Take the security foil off the taoe and put some glue on it. Thanks to this trick you will get some time to adjust the frame or move it a little before it gets glued to the base for good.

Krok 7
Ostrożnie umieść mikrokulki na środku tła. Sprawdż czy nie rozsypują się na boki, aby przypadkiem nie dostały się pod klej. Teraz odwróć ramkę taśmą z klejem do dołu i równo przyklej ramkę do tła. Dociskaj ramkę delikatnie, aby nie zniekształcić papieru. Brawo! Shaker gotowy!
Carefully put the microbeads in the middle of the background. Check if they don't escape to the sides so they don't get under the glue. Now turn the frame over - the side with the glue downwards - and glue it up to the background evenly. Press the frame gently so as not to deform the paper. Good job! Your shaker is ready!

Krok 8
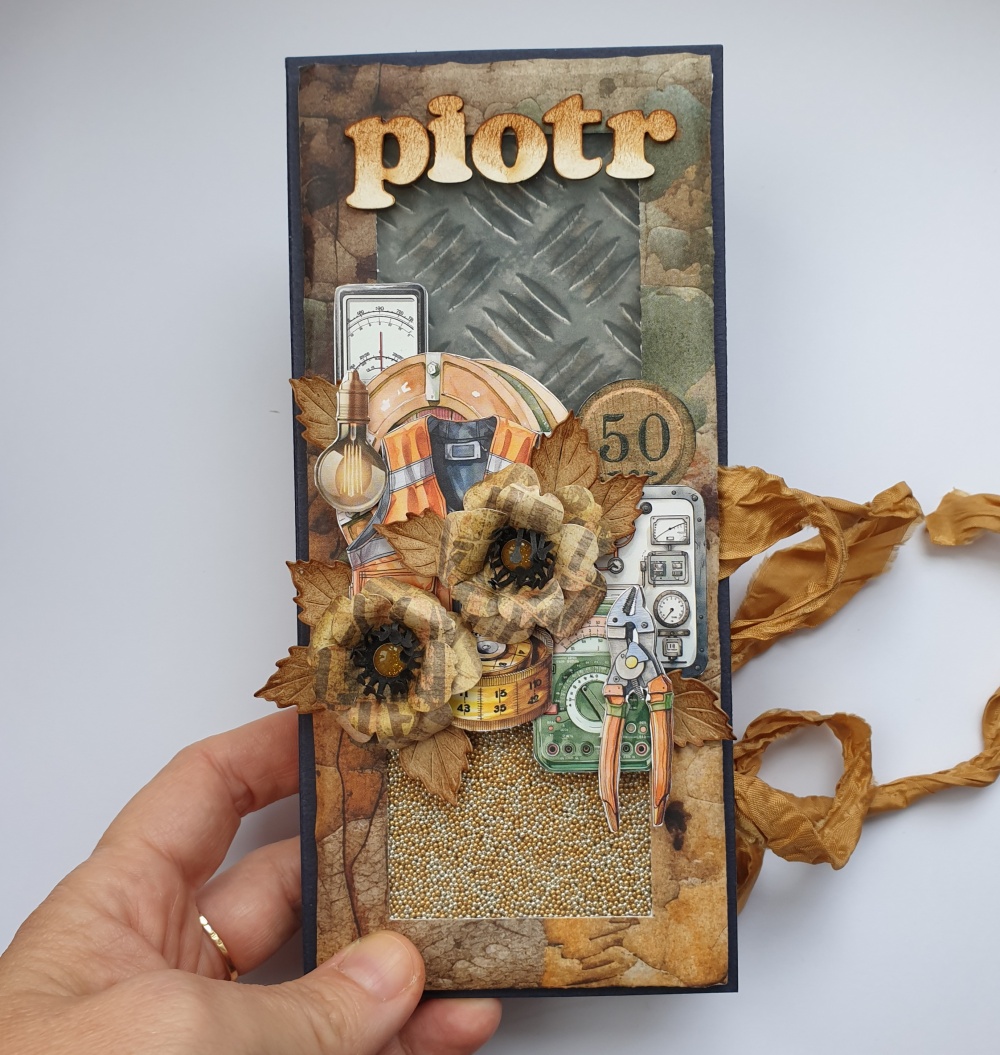
Teraz możesz ułożyć kompozycję* na ramce shakera. Ja skorzystałam z grafik, kwiatów i liści oraz dodałam napis - imię jubilata. Mogę wręczyć czekoladownik w prezencie.
Now you can make a composition on the shaker's frame. I used the graphic elements, some flowers and leaves and I also added the name of the jubilee. I can hand my chocolatier in.
*więcej o zasadach układania kompozycji dowiesz się z cyklu #praktycznyczwartek na moim profilu na Instagramie i na Facebooku
https://www.instagram.com/ewasurmacz_artandcraft/
https://www.facebook.com/profile.php?id=100085301165616&sk=about_overview