Ewa Surmacz Art & Craft - Zaproszenie na komunię z cieniowaną tekturką - tusz Distress Ink dla początkujących.


Wysłany dnia: gru 13, 2023
Kategorie: Kartka , Poradniki / tutoriale
Author: Ewa Surmacz Art and Craft
Zanim pod koniec zimy rozpocznie się sezon na tworzenie zaproszeń i pamiątek chrztu i komunii, chcę Wam pokazać uniwersalny sposób na zrobienie zaproszenia.
Before the season for making first communion or baptism invitations starts at the end of winter, I want to show you a versatile way of making such a project.

Będziecie potrzebować:
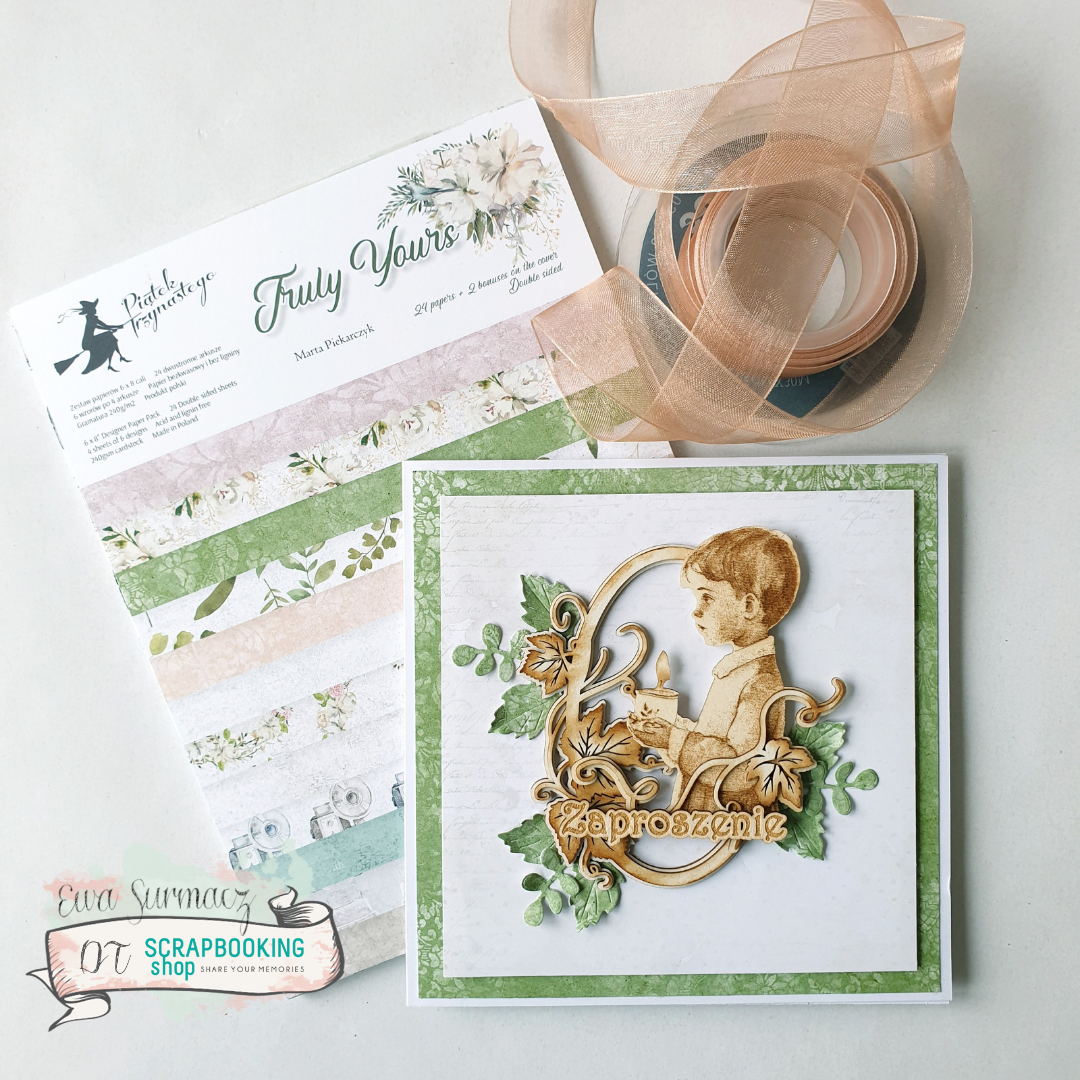
- kwadratową bazę kartki 15x15cm lub mniejszą (ja wybrałam białą),
- pudełko z pełną szybką 15x15x2,5cm w kolorze bazy,
- papier do oklejenia zaproszenia,
- tekturkę o tematyce komunijnej (ja wybrałam markę Twoja Tekturka),
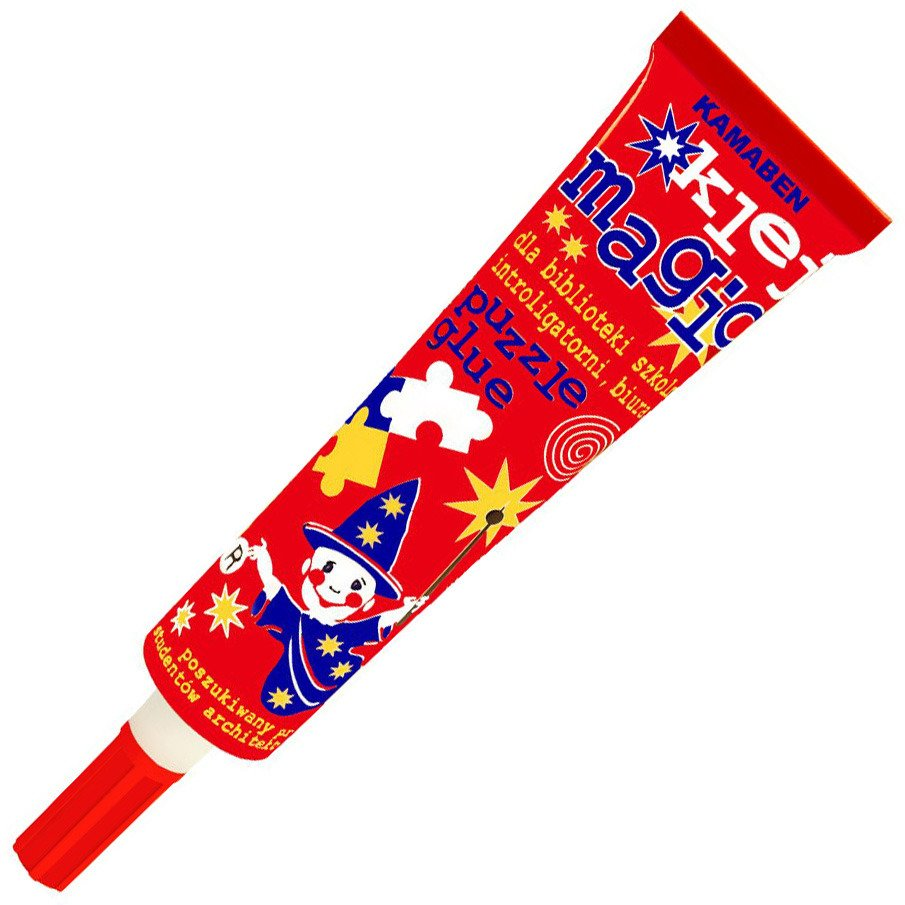
- klej introligatorski,
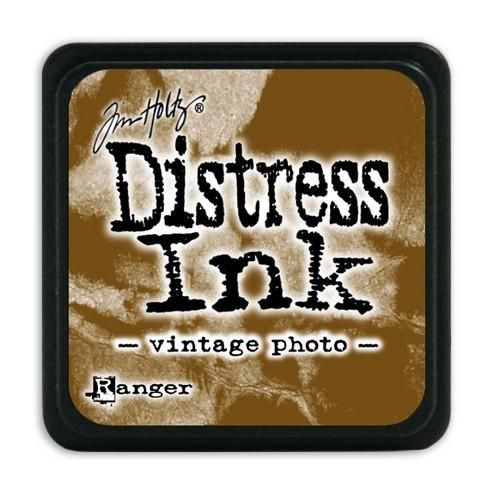
- tusz Distress Ink w kolorze Vintage Photo
You need:
- a square card basis 15x15cm or smaller (I chose white),
- a full glass box 15x15x2,5cm in corresponding colour,
- some scrapbooking paper to cover the invitation,
- a chipboard element in communion topic,
- some glue,
- Distress Ink Vintage Photo ranger ink.
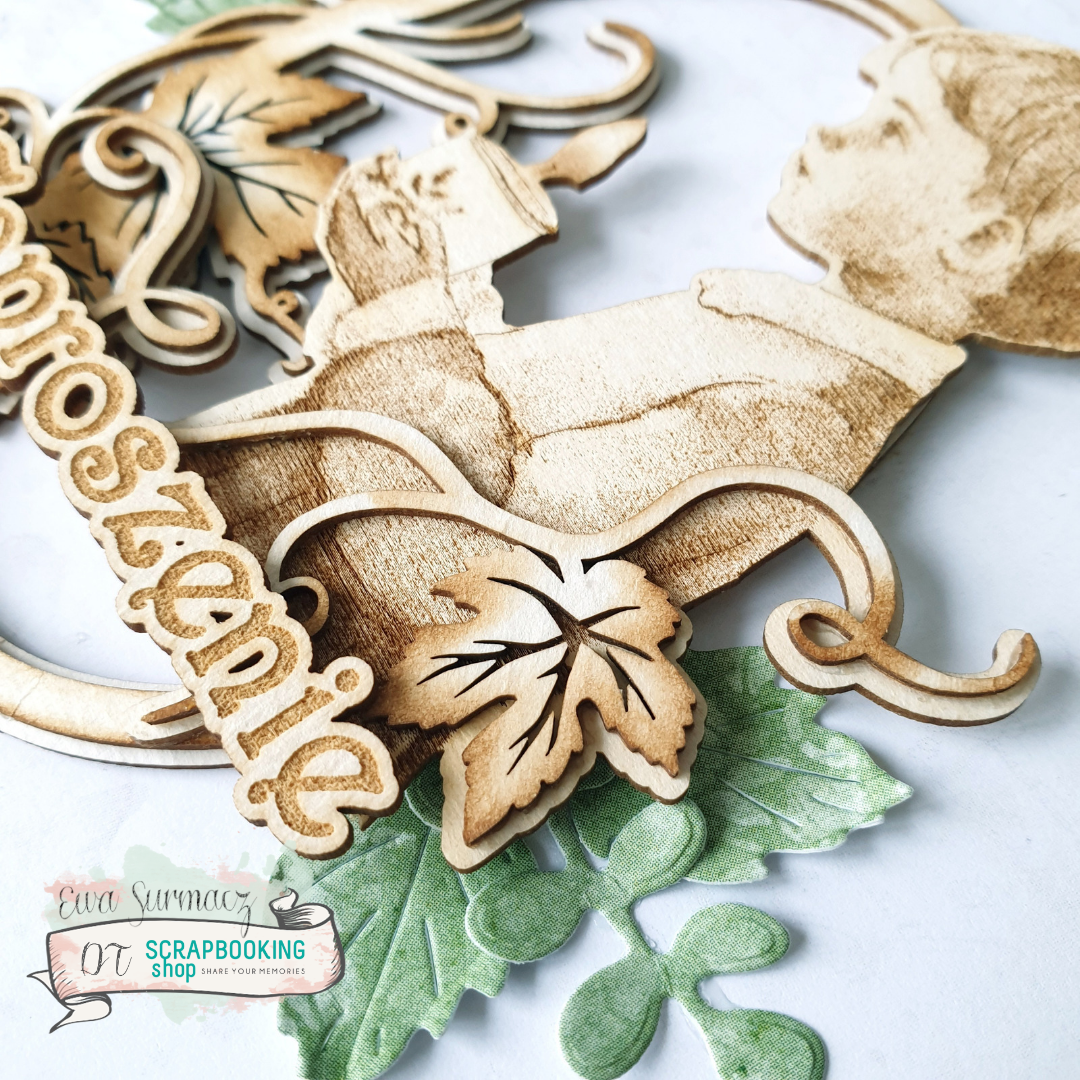
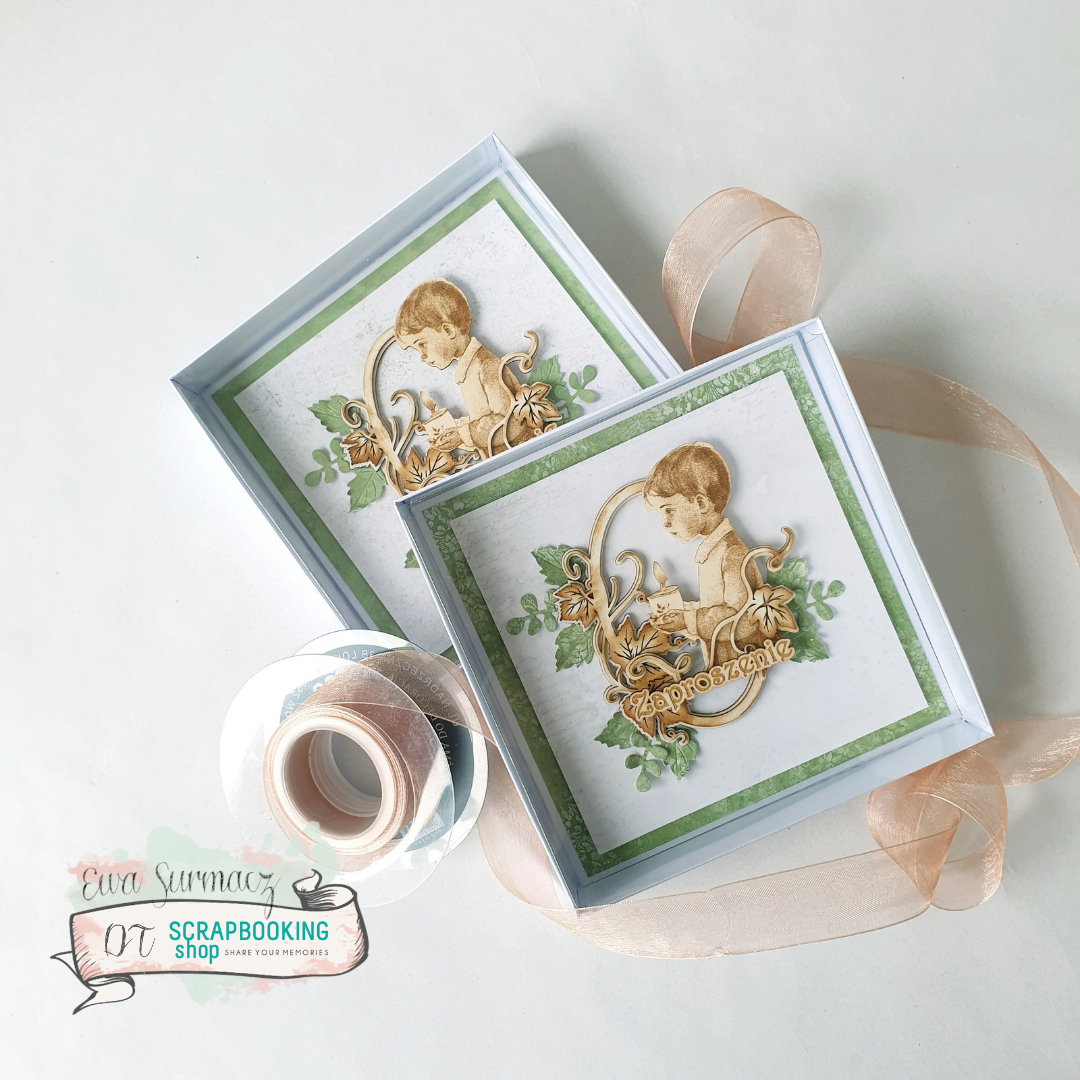
Najpierw oklejamy przód i tył zaproszenia papierem scrapowym. Na przedzie dodajemy panel kontrastowego papieru (u mnie jaśniejszy) - nieco mniejszy niż pierwsza warstwa. Następnie układamy kompozycję. Ja zdecydowałam się połączyć za pomocą kleju dwie warstwowe tekturki: ramkę i postać chłopca ze świecą.
First glue your scrapbooking paper onto the front and the back of youyr invitation. Add a contrasting panel of paper on the front (I chose a brighter colour) - a bit smaller than the first layer. Then arrange your layout. I decided to combine two chipboard elements and joined them with some glue: an oval frame and a figure of a boy with a candle.

Zanim nakleiłam tekturki na zaproszenie, postanowiłam dodać im nieco koloru i zastosowałam technikę cieniowania tuszem. Aby wykonać to na tak drobnych i delikatnych elementach, wybrałam najmniejszą szczoteczkę do tuszu. Można również posłużyć się małym pędzelkiem z naturalnego włosia. Tusz nakładałam zaczynając od krawędzi tekturki i rozcierając go w kierunku środka, by uzyskać jaśniejszy odcień. Następnie przykleiłam tekturkę na zaproszenie, dodałam kilka listków wyciętych wykrojnikiem i zaproszenie gotowe. Jak Wam się podoba?
Before I glued the chipboard elements onto the invitation, I decided to add some colour to them and I applied the technique of tinting with distress ink. To make it on such delicate and small elements, I chose the smallest possible ink blending brush. You can also use a natural hair oainting brush. I applied the ink starting from the edge of the chipboard and blending it slighly towards the centre of it to get a ligjhter shade. Next I glued the tinted chipboard onto the invitation, added some diecut leaves and the invitation is ready. How do you like it?